I’ve previously mentioned TJs dried fruit bars because they are a relatively healthy on-the-go option for kiddos with allergies (the only ingredients are dried fruit). I don’t love the amount of sugar in them, but since that’s my only issue, I’m cool with it. However, every time I buy one (at 99 cents per bar) I think in my head how easy they would be to make. The only ingredients are literally dried apples + dried _______ (whatever the flavor was – coconut, banana, strawberry, mango, etc). They continue to make more flavors which has been nice. Variety is always a plus. But I knew I could just as easily DIY. So I finally did.
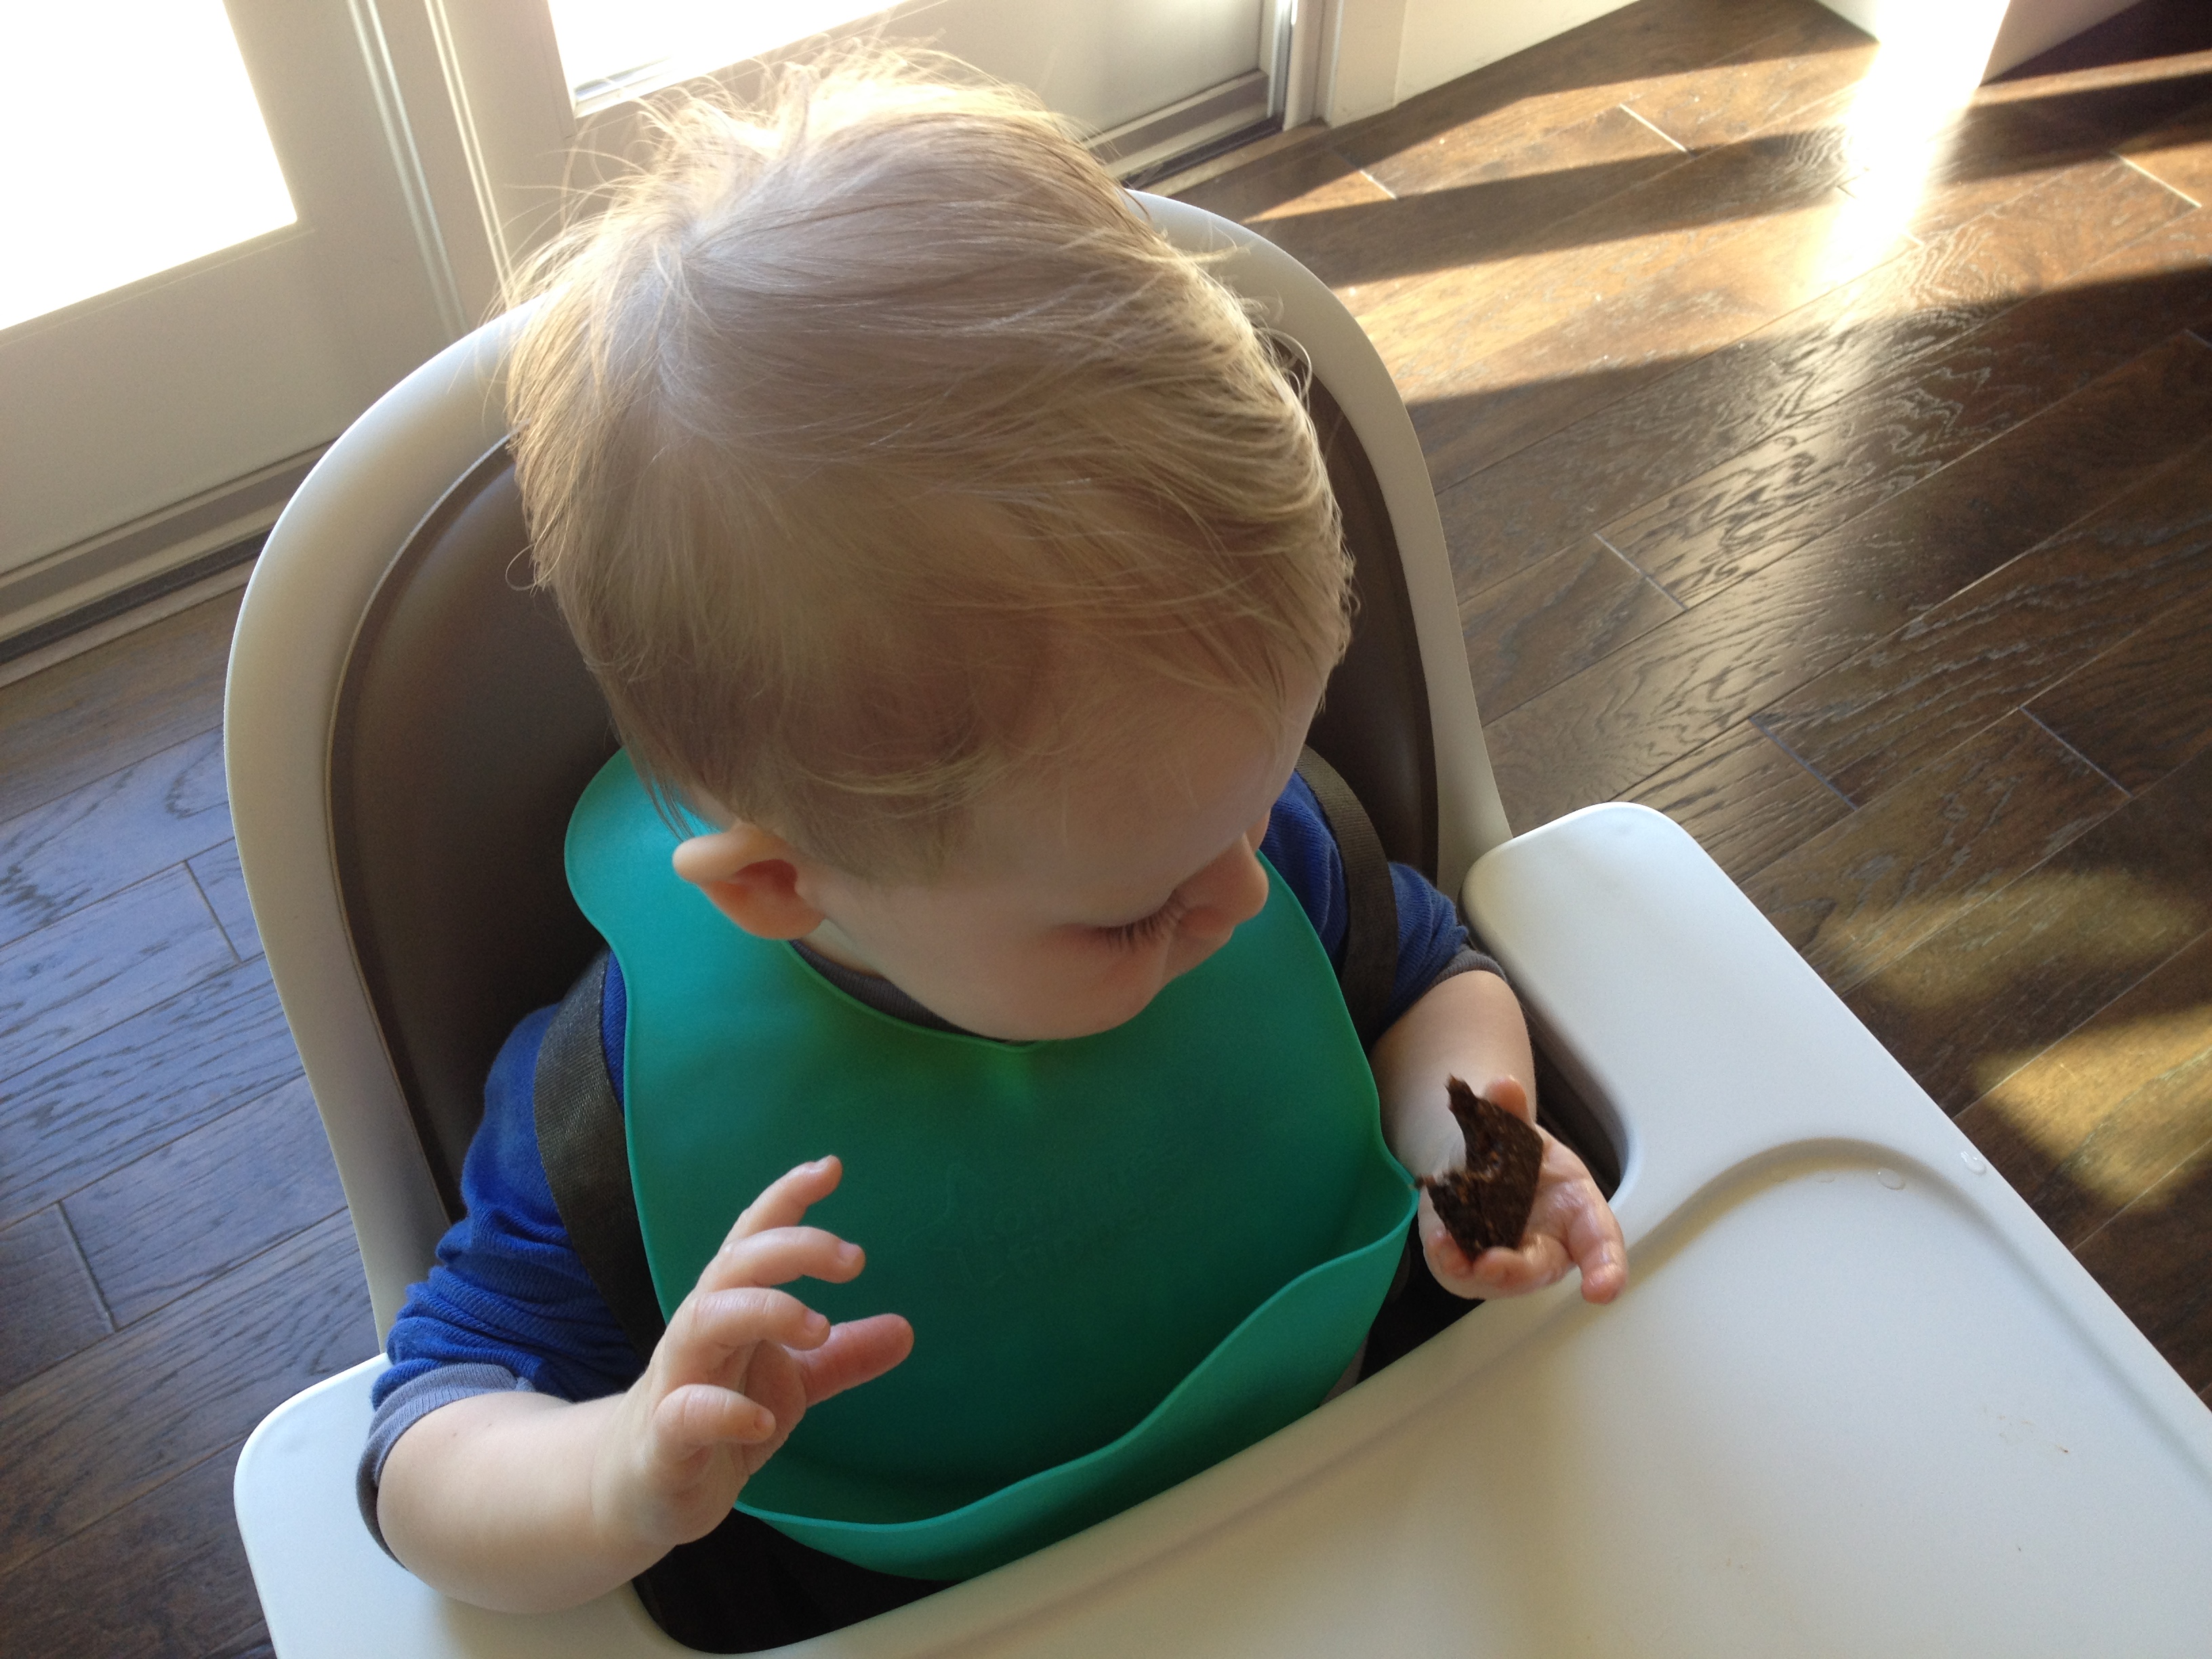
And he liked them!
They still have a lot of sugar since the primary ingredient is dried fruit but they also have chia and hemp seeds and (GF) oats, so they offer slightly more nutrients. Plus they are SO EASY to make and completely customizable.
I didn’t measure things and you don’t have to either!
1. Start with dried fruit – whatever you want to use. I had a bag of mixed dried fruit which had mostly the reject stuff left (i.e. prunes) but there were also dried apricots, apples, and nectarines. Dried pears are a favorite of mine so those were missing from the mix. 😉 Other ideas include dried mangos, bananas, figs, dates, raisins, cranberries, cherries, pineapples, papaya…literally anything! Put it in your food processor and you’re on your way.
2. Next add water. This is especially important if your fruit is harder and more dried out. Let it soak in the water for a while to soften up. You can either drain the water or leave it, depending on how much you added. I didn’t add much so I left it in, knowing I was adding chia seeds later (which would gel with any extra liquid). I think it made it easier to blend this way, too.
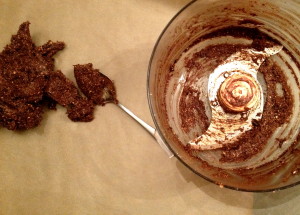
3. Pulse until a semi-paste forms. This could take a while but just keep at it. The fruit chunks don’t have to totally break down, they just have to get relatively mashed up.
4. Add chia seeds (plus whatever other seeds you want) and oats. Chia seeds help hold the bar together and add nutrition. Oats make it more bar like and not just fruit leather. The amount of each that you add will vary based on the texture. You can always add more if it’s too wet so start slow. I added hemp seeds too, just to increase the protein.
5. Pulse until the mixture becomes a large ball mass. It may help to let it sit and rest a while after you pulse it to let the chia seeds gel and then see where you need to go from there.
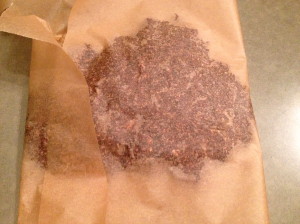
6. Once it’s a workable consistency (it will still be sticky but you’ll be able to easily mold it’s shape) put it on a big sheet of parchment paper. Fold the paper over it and roll it out to an appropriate thickness (I think 1/4-1/2 inch is good).
7. Place in the fridge for a few hours to set.
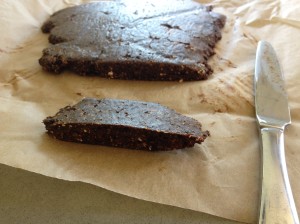
8. Slice into bars/squares/whatever. Alternatively you can roll it into balls. Whatever you toddler prefers.
9. Store in fridge in an airtight container (I kept mine in the parchment paper).

He likes them and they were cheap and easy, and that’s a big win in my book.
Notes:
He did eat some straight out of the food processor pre-refrigeration (I sorta shaped them into little balls) and although they were clearly too sticky, he was still asking for more after each bite.
If your child is picky, start with flavors/fruits you know he/she likes and then gradually decrease the ratio of the familiar and increase the foreign.
These bars are dairy, nut, wheat, gluten, soy and egg free. If you aren’t worried about allergies, nuts could be a good addition, but I don’t know how that will affect the texture. Hope you give it a shot!

I totally made some for me later (with almonds, coconut, dried ginger, and dates). Mmmmmmm…
Pingback: Wednesday with P | Hungry Hungry Hippie
Pingback: Allergy friendly baby/toddler products | Hungry Hungry Hippie